Discover my personal experience using epoxy resin for a river table. Learn tips, techniques, and how to achieve stunning results.
Hi there! I’m Clara, a DIY enthusiast and woodworking hobbyist who recently dove headfirst into the world of epoxy resin river tables. If you’re reading this, chances are you’ve either seen one of these mesmerizing creations online or maybe even tried your hand at making one yourself.
But let me tell you—my journey wasn’t without its challenges. From choosing the right epoxy to dealing with bubbles and getting that crystal-clear finish, I learned a lot through trial and error. And today, I want to share my real-life experience with you—so you can avoid the mistakes I made and create something truly beautiful.
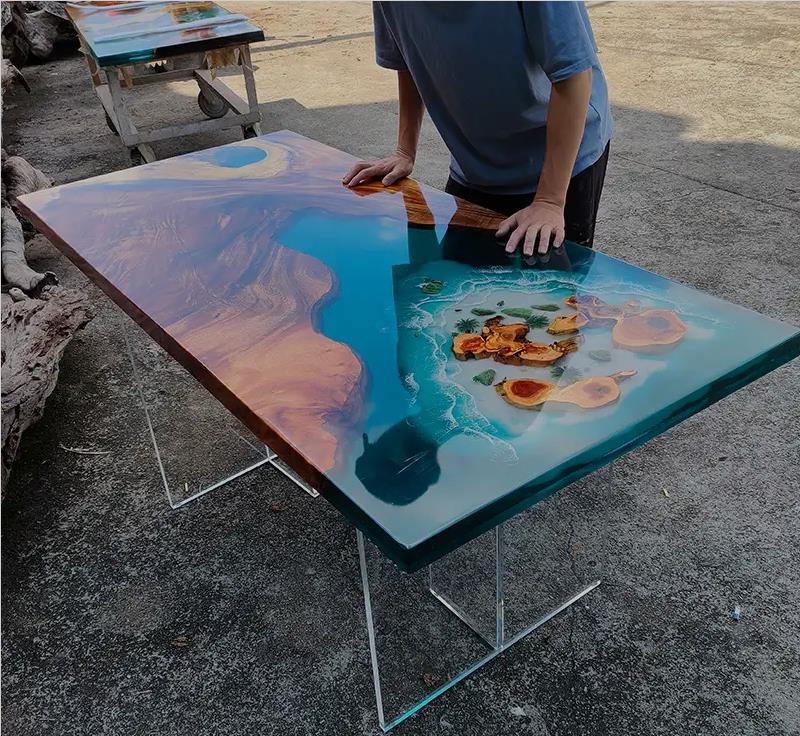
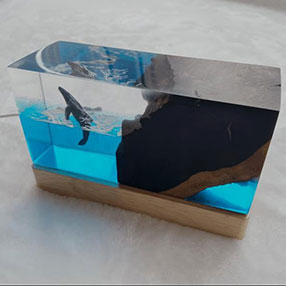
When I first saw a river table with that flowing blue resin running through natural wood, I was instantly hooked. It looked like art and craftsmanship had kissed each other and decided to live together forever.
So why epoxy? Well, here’s what drew me in:
Durability: Unlike polyester resins, epoxy is tough, scratch-resistant, and long-lasting.
Clarity: I wanted that glass-like transparency so the wood grain could shine through.
Self-leveling Properties: Perfect for creating smooth, even surfaces without too much fuss.
Color Options: You can add pigments, dyes, or even metallic powders to make it uniquely yours.
Heat Resistance: Important if your piece will be used daily or exposed to sunlight.
Before pouring anything, I spent hours researching different brands and formulas. Let me save you some time—here’s what I found out:
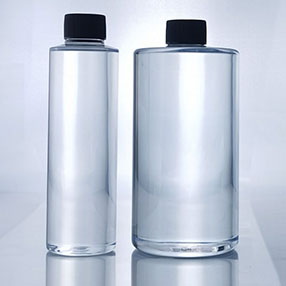
There are basically two types of epoxy resins commonly used in river tables:
| Type | Mixing Ratio | Pros | Cons |
|---|---|---|---|
| Deep Pour Epoxy | Usually 2:1 | Can pour up to 2 inches thick in one go | Slower curing time |
| Tabletop Epoxy | Often 1:1 | Faster curing, great for thin layers | Not suitable for deep pours |
I went with a deep pour epoxy because my table had wide gaps between the wood slabs. I also made sure it was labeled as non-yellowing, which is super important if you want your masterpiece to stay clear over time.
You’d think the resin is the star of the show, but trust me—your wood plays a huge role too.
Here’s how I got my wood ready:
Dried Thoroughly: Moisture is the enemy of epoxy. I air-dried the slabs for weeks and then baked them in an oven at a low temperature (around 175°F / 80°C) for a few hours just to be safe.
Filled Gaps with Sand & Clay: Before pouring resin, I filled small voids with sand mixed with a bit of glue. This helped reduce the amount of expensive resin needed and gave the table more texture.
Built a Mold: Using melamine boards and silicone caulk, I created a leak-proof mold around the wood slabs. Don’t skip sealing the corners—it’ll save you from tears later!
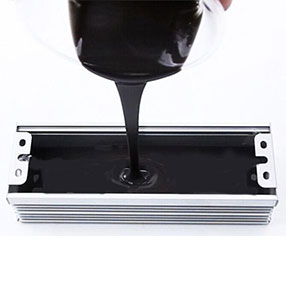
This part was both exciting and nerve-wracking. I followed the instructions carefully, measuring the resin and hardener precisely (even using a digital scale). One wrong ratio and everything could go south.
Mixed small batches at a time to avoid overheating.
Stirred slowly and thoroughly for about 3–4 minutes to ensure full blending.
Poured in sections, letting the resin flow naturally but guiding it where needed.
Used a heat gun and torch to pop surface bubbles—this step made all the difference!
As I watched the resin settle into the cracks, forming that glossy, glassy look, I felt like I was watching magic happen.
Epoxy doesn’t rush—and neither should you. After pouring, I left the table undisturbed for 72 hours to cure. No dust, no pets, no disturbances. I even put a tarp over it to protect it from curious fingers and floating particles.
Once cured, I sanded the surface lightly with 400-grit sandpaper and applied a final polish with automotive wax. The result? A mirror-like finish that made the colors of the wood and resin pop like never before.
Let’s get real—my first attempt didn’t go perfectly. But hey, every mistake taught me something valuable. Here are my top takeaways:
It helps remove trapped air and gives a cleaner finish. I didn’t have one, so I relied on torching, which worked—but not perfectly.
Even a tiny speck of dust can ruin the clarity of your resin. Keep your workspace spotless.
Patience is key. Trying to speed things up with heat can cause bubbles or uneven curing.
Resin fumes can be strong. Always wear gloves, goggles, and a mask when mixing and pouring.
Now that it’s done, my river table has become the centerpiece of our living room. Friends ask where I bought it, and I proudly say, “I made it.” It’s not just furniture—it’s a story of persistence, creativity, and love for craftsmanship.
And honestly, if I can do it, you can too.
Whether you're a seasoned woodworker or a beginner looking for a new challenge, working with epoxy resin is incredibly rewarding. Just remember to plan well, take your time, and enjoy the process.
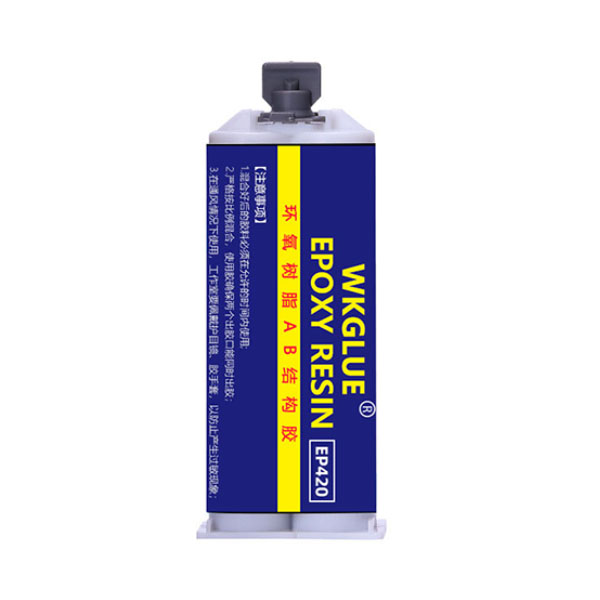
Q1: Can I use regular epoxy glue for a river table?
Nope! Regular craft or hardware store epoxy isn’t designed for large-scale casting. Always use resin specifically formulated for deep pouring.
Q2: How much does it cost to make a river table with epoxy?
Depending on size and materials, expect to spend anywhere from200-1,000$. The resin is usually the biggest expense.
Q3: Does epoxy yellow over time?
Low-quality resins can turn yellow, especially under UV light. Choose a UV-stable, non-yellowing formula to keep your table looking fresh.
Q4: Can I eat directly off an epoxy-coated table?
While food-safe once fully cured, it’s not recommended to place hot dishes directly on the surface. Use coasters and trivets to protect it.