Epoxy resin glue is a powerful, two-part adhesive known for its exceptional bonding strength, durability, and versatility. While often confused with regular epoxy resin used for casting or coating, epoxy resin glue is specifically formulated for structural bonding, gap-filling, and repair applications.
Whether you're fixing a broken wooden chair leg, joining metal parts, or repairing a crack in concrete, using the right technique can make all the difference between a temporary fix and a long-lasting solution.
In this comprehensive guide, we’ll walk you through:
The basics of epoxy resin glue
How to prepare your materials
A step-by-step guide to mixing, applying, and curing
Common mistakes to avoid
And tips for achieving professional results
Let’s dive in!
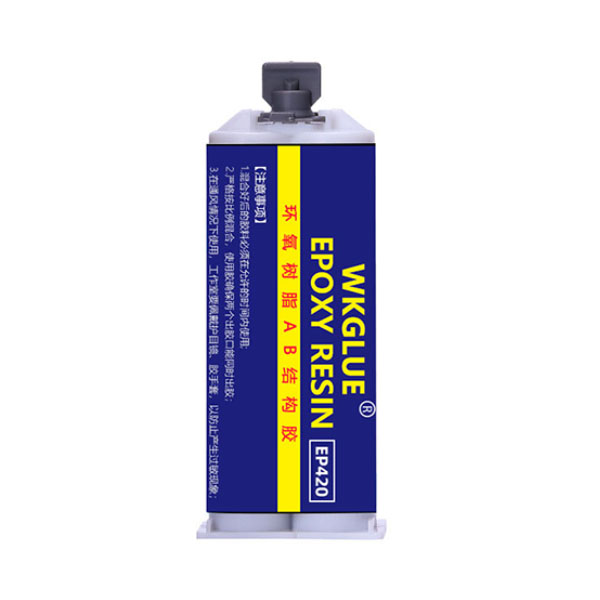
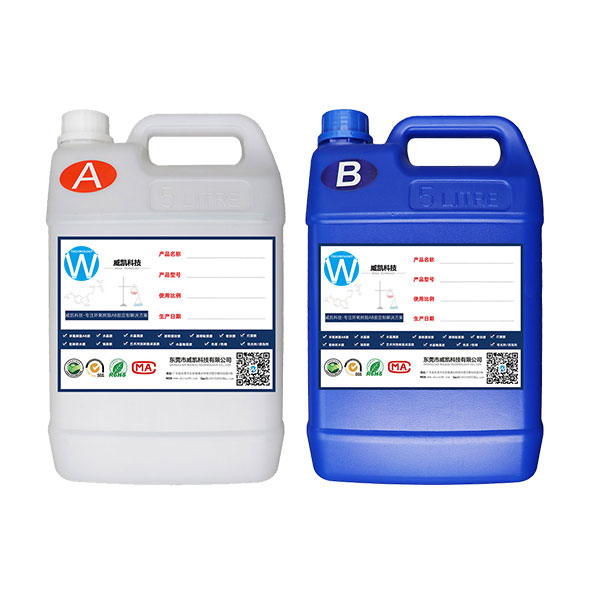
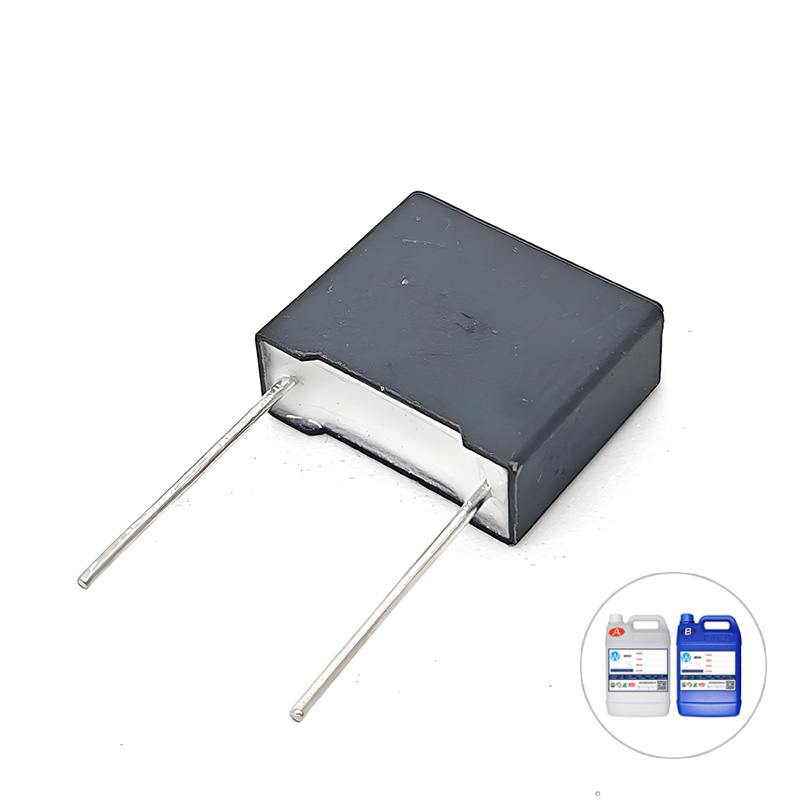
Epoxy resin glue is a type of two-component adhesive made from a resin and a hardener that must be mixed together in a specific ratio before use. Once combined, a chemical reaction occurs, transforming the liquid mixture into a strong, solid bond.
Unlike standard epoxy resins used for coatings or art projects, epoxy resin glue typically contains fillers such as silica, calcium carbonate, or clays. These additives give it a thicker, paste-like consistency, making it ideal for filling gaps and creating strong mechanical bonds.
High tensile and shear strength
Excellent adhesion to wood, metal, glass, ceramic, and some plastics
Water-resistant when fully cured
Can be sanded, drilled, or painted after curing
Some formulas are heat and chemical resistant
Epoxy resin glue is best suited for structural bonding and repairs where strength and durability are essential. Here are some common applications:
| Application | Why Epoxy Resin Glue Works |
|---|---|
| Woodworking Joints | Fills gaps and strengthens connections |
| Metal Repairs | Bonds steel, aluminum, brass, etc. |
| Concrete Crack Repair | Penetrates cracks and hardens for lasting fix |
| Plastic Bonding | Works on many types of rigid plastic |
| Ceramic & Tile Fixing | Strong hold without staining or discoloration |
⚠️ Important Note: Epoxy resin glue is not recommended for flexible or elastic materials like rubber or soft vinyl.
Before starting your project, gather the necessary tools and materials to ensure smooth application and optimal results.
Epoxy resin glue kit (resin + hardener)
Mixing surface (disposable palette, cardboard, or plastic tray)
Mixing stick or spatula
Disposable gloves
Safety goggles
Mask or respirator (for indoor use)
Clamps or weights (to hold pieces together during curing)
Sandpaper or file (for finishing)
Optional:
Heat gun or torch (for removing bubbles in some formulations)
Paintbrush (if thinning is required)
Set up in a well-ventilated space. Cover surfaces with disposable paper or plastic sheeting. Ensure the area is clean, dry, and free from dust or debris.
💡 Tip: Wear gloves, safety goggles, and a mask to protect yourself from fumes and skin contact.
For a strong bond, both surfaces should be:
Clean: Remove grease, oil, dirt, or old adhesive.
Dry: Moisture interferes with adhesion.
Roughened: Lightly sand smooth surfaces to improve grip.
Use rubbing alcohol, acetone, or a mild detergent to clean. Allow surfaces to air-dry completely before proceeding.
Most epoxy resin glues come with a predefined mix ratio, usually 1:1 or 2:1 by volume. Always follow the manufacturer's instructions.
✅ Best Practices:
Use a digital scale if measuring by weight.
Squeeze equal amounts of resin and hardener onto your mixing surface.
Mix thoroughly for at least 2–3 minutes, ensuring no streaks remain.
⚠️ Warning: Inaccurate mixing can lead to incomplete curing and weak bonds.
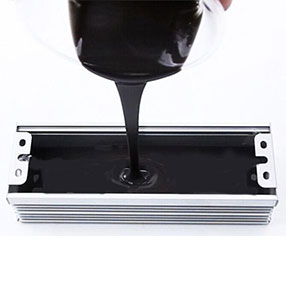
Using a spatula, brush, or applicator tip, apply the mixed epoxy evenly to one or both surfaces.
Depending on the thickness of the glue:
For thick pastes, spread with a putty knife or small trowel.
For medium viscosity, use a brush or palette knife.
For precision work, use a syringe-style applicator.
💡 Pro Tip: Apply slightly more than needed to account for shrinkage during curing.
Press the two surfaces together firmly and align them as desired. Use clamps, weights, or tape to hold the bond in place while it sets.
The initial tack-free time is usually within 5–30 minutes, but full setting may take several hours depending on the formula and temperature.
Curing is the final stage where the epoxy reaches maximum strength. Most epoxy resin glues achieve:
Handling strength: After 8–12 hours
Full cure: Within 24–72 hours
Factors affecting curing time:
Ambient temperature
Humidity
Thickness of applied layer
Type of formulation (fast-set vs slow-set)
💡 Note: Avoid stressing or moving the bonded item until fully cured.
Once fully cured, epoxy resin glue can be:
Sanded with fine-grit sandpaper (120–220 grit)
Drilled or cut if needed
Painted over with compatible paints
Polished for a smoother finish
Always wear a mask when sanding and wipe away dust regularly to prevent buildup.
To get the most out of your epoxy resin glue, consider these important variables:
Ideal working temperature: 65°F to 85°F (18°C to 30°C)
Too cold → Slows curing
Too hot → Accelerates reaction, reduces working time
High humidity can affect drying and adhesion. Aim for <60% RH.
Thicker layers take longer to cure and may generate internal heat (exothermic reaction), which can weaken the bond.
Works well on:
Wood
Metal
Ceramics
Concrete
Glass
Many plastics (test first)
Avoid use on:
Flexible rubber
Polyethylene or polypropylene plastics
Oil-contaminated surfaces
Even with proper application, problems can occur. Here’s how to identify and fix them:
| Issue | Possible Cause | Solution |
|---|---|---|
| Sticky or Tacky Surface | Improper mixing | Scrape off and reapply with correct ratio |
| Bubbles in the Glue | Mixing too fast or warm conditions | Mix slowly; apply in cooler environment |
| Weak Bond | Dirty or unprepared surfaces | Re-clean and re-glue |
| Cracking or Shrinkage | Too thick or overheating | Apply in thinner layers |
| Discoloration | UV exposure | Use UV-stable formulation or paint over |
Always wear gloves and eye protection
Work in a well-ventilated area
Keep away from children and pets
Wash hands thoroughly after use
Store components separately in a cool, dry place
Keep containers tightly sealed
Avoid contamination by never reusing applicators or mixing tools
Shelf life varies by brand—most epoxy resin glues last 1–2 years if stored properly.
Some marine-grade epoxies are waterproof once cured, but do not apply underwater. Ensure surfaces are dry before use.
Most have a pot life of 5–30 minutes, depending on the formula and temperature.
Yes. Use water-based acrylics, enamels, or spray paints for best results.
Standard epoxy may yellow with UV exposure. Choose a UV-stable formula for clear finishes.
Only if labeled food-safe. Otherwise, avoid using near food or cutting surfaces.
Using epoxy resin glue correctly can transform your DIY, woodworking, or repair projects into professional-quality results. By understanding the basics—from proper mixing techniques to environmental factors—you can ensure strong, durable bonds every time.
Whether you're fixing a broken handle or building custom furniture, following the steps outlined in this guide will help you make the most of your epoxy resin glue.
Remember: preparation, precision, and patience are key. With the right approach, you’ll enjoy reliable performance and long-lasting results.