Epoxy resin tables have become a symbol of modern craftsmanship—combining the warmth of natural wood with the glossy allure of crystal-clear resin. Whether you're crafting a river table, coffee table, or dining table, using epoxy resin allows you to create stunning, one-of-a-kind furniture pieces that stand out in any interior space.
But what exactly is needed to make an epoxy resin table?
In this detailed guide, we’ll walk you through:
The essential materials
The necessary tools and equipment
Best practices for preparation and safety
Step-by-step process from start to finish
Whether you're a DIY enthusiast or a professional woodworker looking to expand your skillset, this article will provide all the information you need to successfully build an epoxy resin table.
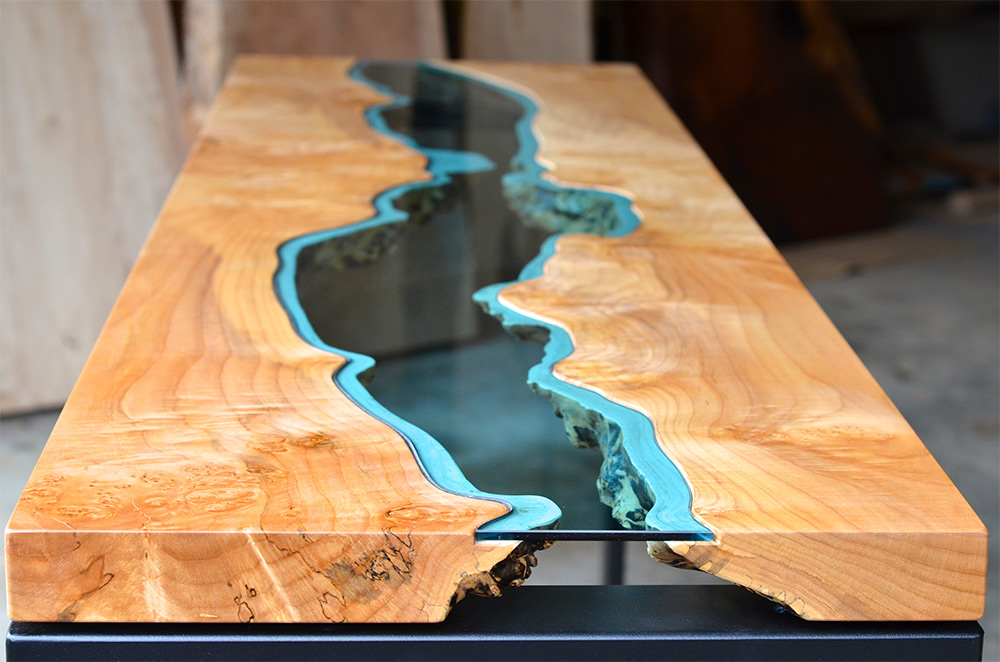
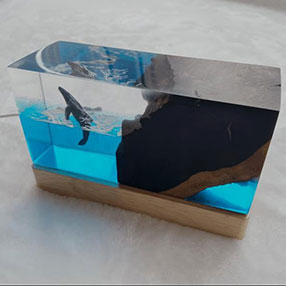
An epoxy resin table typically refers to a piece of furniture where natural wood slabs are joined together with colored or clear epoxy resin. This design often mimics the appearance of a flowing river between the wood pieces—hence the term “river table.”
The combination of organic textures and high-gloss resin makes these tables highly desirable in both residential and commercial settings.
There are two main types of epoxy resin used in table making:
Tabletop Epoxy: Fast-curing, ideal for thin layers and surface coatings.
Deep Pour Epoxy: Designed for thicker pours (up to 2–4 inches), perfect for filling large gaps between wood slabs.
Now, let’s dive into the materials and tools you'll need to bring your vision to life.
Choose high-quality, kiln-dried or air-dried wood slabs. Popular choices include:
Walnut
Maple
Oak
Cherry
Reclaimed or live edge wood for a rustic look
Ensure the wood is dry (moisture content under 12%) to prevent future warping or resin adhesion issues.
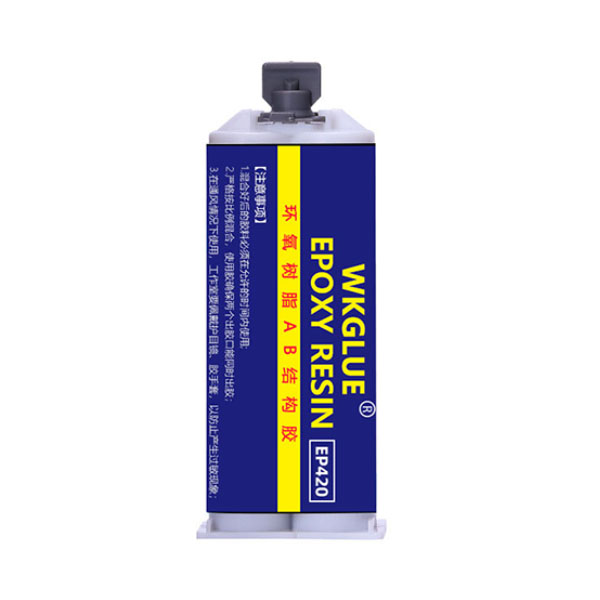
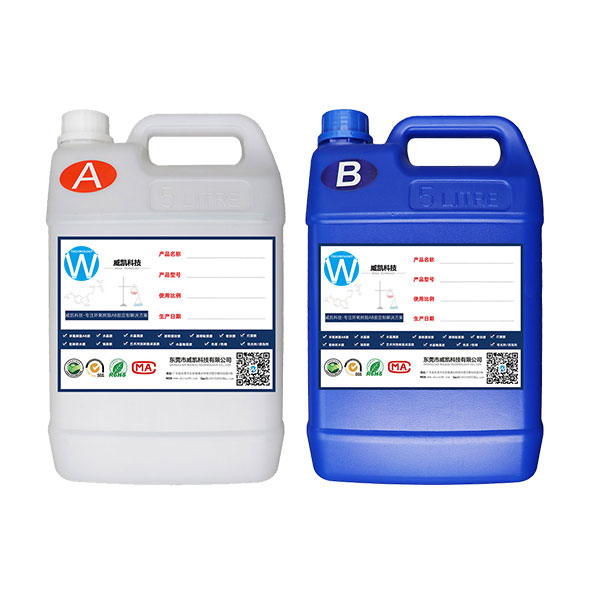
Selecting the right resin is crucial. You’ll need:
Resin – The base component
Hardener – Activates the chemical reaction that causes curing
Look for systems labeled as:
UV-resistant
Non-yellowing
FDA-approved (if food contact may occur)
Suitable for deep pour if needed
Some top brands include:
ProMarine Supplies
System Three
MAS Epoxies
Countertop Epoxy by Rust-Oleum
To customize your table's look:
Alcohol Inks – For vibrant colors
Mica Powders – Create metallic effects
Dyes & Tint Pastes – Offer opacity and depth
Glitter or Metallic Flakes – Add sparkle or shimmer
Always ensure colorants are compatible with epoxy resin.
Used to fill small voids before pouring resin:
Wood dust + epoxy mix
Two-part wood filler
Sand and glue mixture for textured fills
This helps reduce the amount of expensive resin required while maintaining aesthetics.
To prevent resin from sticking to molds or forms:
Silicone-based release agents
PVA (polyvinyl alcohol) release film
Wax coatings
These help achieve clean demolding and reduce post-processing work.
Measuring cups (preferably graduated for accuracy)
Mixing sticks or paddles
Digital scale (for precise 2:1 or 1:1 ratios)
Disposable mixing containers
Accuracy in mixing is critical to proper curing.
Funnel (to minimize spills)
Heat gun or torch (for removing bubbles)
Squeegees or spreaders (to level the resin)
Safety should never be compromised when working with epoxy:
Nitrile gloves
Safety goggles
Respirator mask (especially indoors)
Long sleeves and pants to avoid skin contact
Mold material (melamine, MDF, silicone-lined frames)
Leveling tools (laser level, bubble level)
Clamps and braces to secure the mold
Plastic sheeting or drop cloths for floor protection
After the resin has cured (usually 72+ hours):
Orbital sander or hand sandpaper (start at 80–120 grit, then move up to 400+)
Polishing compound
Microfiber cloths
Automotive wax or clear coat sealer (optional)
Work in a clean, temperature-controlled area (ideally 70–80°F / 21–27°C). Avoid high humidity environments, as moisture can interfere with resin curing.
Before assembling your table frame:
Clean the slabs thoroughly (use denatured alcohol or acetone)
Sand to a smooth finish (120–220 grit)
Seal cracks or knots with epoxy first if they’re porous
Apply a barrier coating (called a "seal coat") to protect the wood during casting
A well-built mold ensures a clean pour and easy demolding:
Use melamine boards or MDF to construct the outer frame
Line the inside with plastic sheeting or silicone caulk
Ensure the base is perfectly level
Place the wood slabs inside the mold, ensuring even spacing for resin flow. Secure them with clamps or brackets.
Mix a small batch of epoxy and apply it to the wood surfaces. Let it cure overnight to seal the grain and prevent air bubbles.
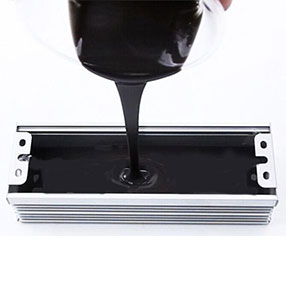
Begin with a shallow pour (about ¼ inch) to fill initial gaps. Use a heat gun to pop bubbles.
Once the first layer has gelled (tacky but not fully cured), add pigments, dyes, or additives for visual interest.
If using tabletop epoxy, wait 12–24 hours between layers. Repeat until the desired thickness is achieved.
Allow the resin to cure for at least 72 hours. Avoid disturbing the table during this time.
Carefully remove the table from the mold. Begin sanding with coarse grit and gradually increase to fine grit for a mirror finish.
Use automotive polishing compounds and wax to enhance the shine. Optionally, apply a final protective topcoat.
Avoid these pitfalls to ensure a successful project:
| Mistake | Consequence | How to Avoid |
|---|---|---|
| Incorrect mixing ratio | Sticky or uncured resin | Use a digital scale and follow manufacturer guidelines |
| Poor ventilation | Health risks, improper curing | Work in a well-ventilated area or use fans |
| Dusty environment | Surface imperfections | Cover workspace and wear clean clothing |
| Rushing the process | Bubbles, uneven finish | Take your time and allow full curing between layers |
| Skipping prep work | Adhesion failure | Always clean and sand wood properly |
With proper care, your epoxy resin table can last for decades.
Use a soft cloth and mild soap
Avoid abrasive cleaners or scouring pads
Use coasters and trivets to avoid scratches
Keep away from direct heat sources
Wipe up spills immediately
Minor scratches can be buffed out with polishing paste. Major damage may require sanding and reapplying a thin top coat of resin.
The cost of making an epoxy resin table varies depending on size, materials, and complexity.
| Item | Approximate Cost |
|---|---|
| Wood slabs | 50–300$ |
| Epoxy resin (per gallon) | 60–150$ |
| Pigments/additives | 20–100$ |
| Tools & equipment (initial setup) | 100–300$ |
| Total (small to medium table) | 300–1,000$ |
Note: Reusing tools and buying in bulk can reduce costs over time.
Epoxy resin is safe when handled correctly, but always follow best practices:
Store chemicals in a cool, dry place
Dispose of waste responsibly (check local regulations)
Choose low-VOC formulas for indoor use
Provide adequate ventilation during application
Making an epoxy resin table is more than just a woodworking project—it’s an art form that blends creativity, precision, and patience. With the right materials, tools, and techniques, anyone can craft a stunning centerpiece that adds beauty and value to any space.
From selecting the perfect wood slabs to mastering the pour and polish, every step plays a role in achieving a flawless finish. Whether you're creating a gift, starting a business, or simply exploring a new hobby, this guide equips you with the knowledge needed to succeed.
So roll up your sleeves, gather your supplies, and get ready to transform raw materials into a timeless work of functional art.