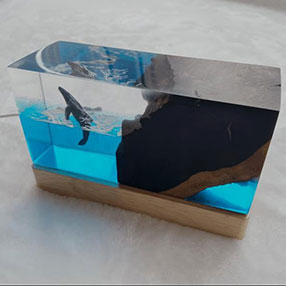
Epoxy table tops have become increasingly popular among DIY enthusiasts and professional woodworkers alike due to their glossy finish, durability, and ability to transform ordinary surfaces into works of art. For first-timers, creating an epoxy table top may seem daunting at first—but with the right tools, materials, and knowledge, it's a rewarding project that can be completed successfully even by beginners.
In this comprehensive guide, we’ll walk you through:
The essential tools needed
The key materials to use
Step-by-step techniques for application
Safety precautions and best practices
By the end of this article, you’ll have all the information you need to confidently start your own epoxy table top project.
An epoxy table top involves applying a two-part epoxy resin over a prepared surface—usually wood—to create a smooth, durable, and glass-like finish. It is often used on:
Wooden dining tables
Coffee tables
Kitchen islands
Bar tops
Cutting boards or serving trays
The epoxy not only enhances the appearance but also protects the surface from scratches, moisture, and heat.
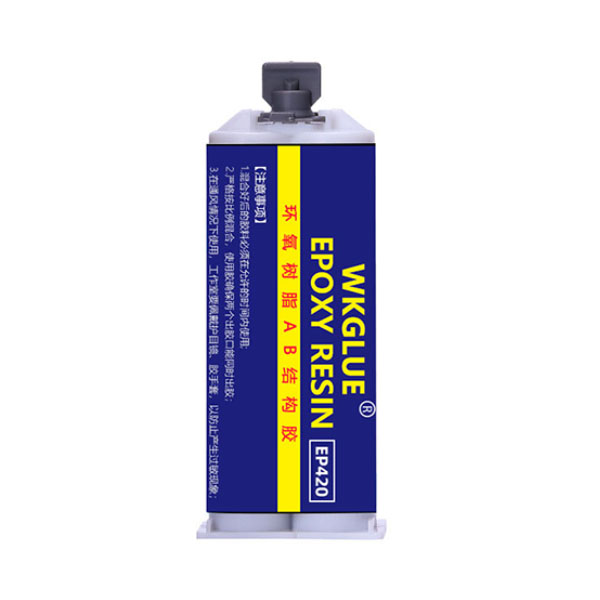
There are two main types of epoxy commonly used for table tops:
Tabletop Epoxy Resin: Designed for thin, clear coatings (up to 1/8 inch per pour).
Deep Pour Epoxy: Used for filling gaps or creating river tables (can be poured in thicker layers).
For beginners, tabletop epoxy is recommended as it’s easier to work with and cures faster than deep pour formulas.
Before starting your project, gather the following basic tools to ensure a smooth process:
Digital scale – Precise measurements are critical for proper curing.
Mixing cups and sticks – Disposable items help maintain cleanliness.
Graduated mixing containers – Allows accurate volume control.
Squeegees or spreaders – For evenly distributing the epoxy.
Foam rollers or brushes – Apply seal coats or final topcoats.
Heat gun or propane torch – To remove bubbles during application.
Nitrile gloves – Protects skin from contact with resin.
Safety goggles – Prevents eye exposure.
Respirator mask – Especially important in enclosed spaces.
Long sleeves and pants – Minimize skin exposure.
Orbital sander or sandpaper (80–400 grit) – Prepares the surface and finishes the cured epoxy.
Clamps and masking tape – Secures edges and prevents leaks.
Plastic sheeting or drop cloths – Protects surrounding areas.
Optional but useful:
Laser level or bubble level – Ensures the table is flat before pouring.
Silicone mold strips or dams – Helps contain the epoxy within the desired area.
Choosing high-quality materials is crucial for achieving a professional-looking finish. Here’s what you'll need:
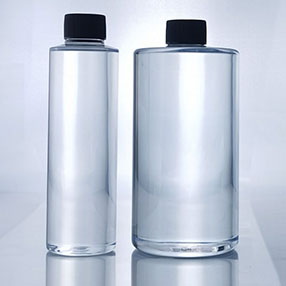
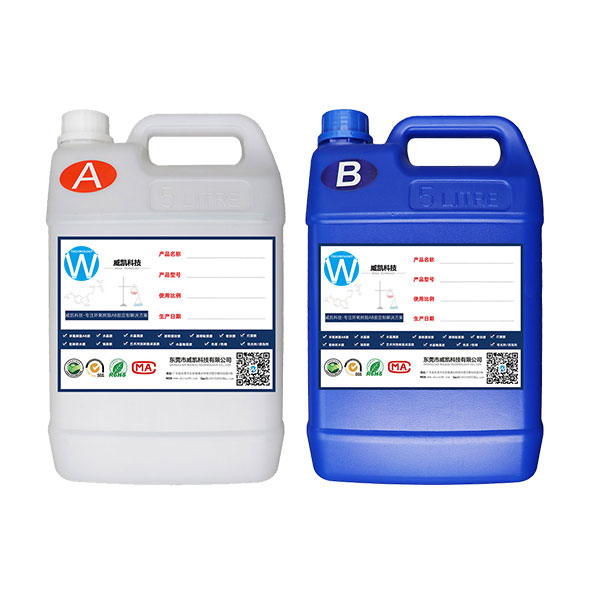
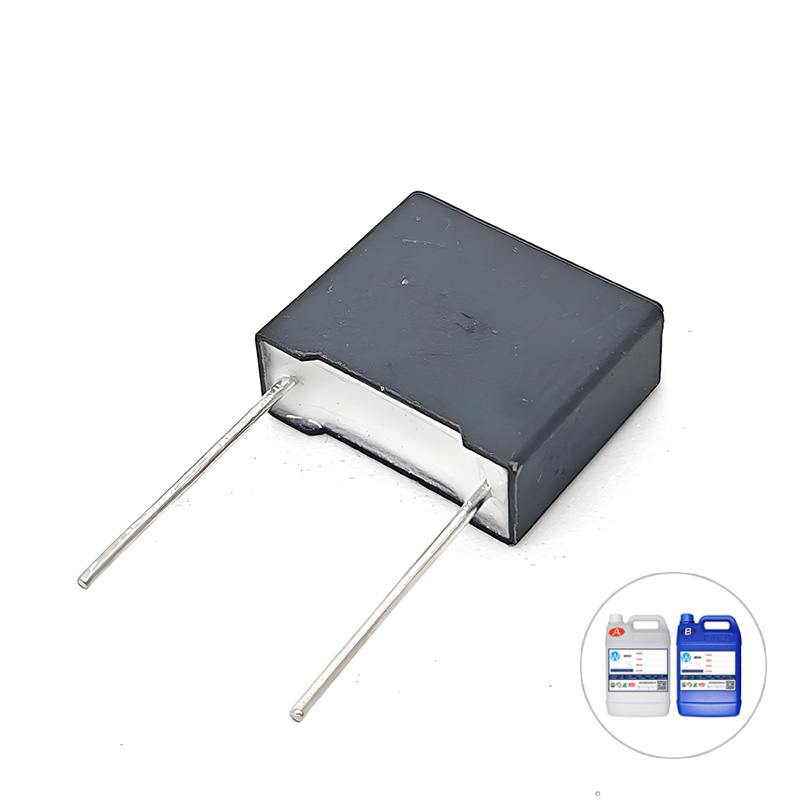
Select a two-part epoxy resin designed for table tops. Look for features such as:
UV resistance to prevent yellowing
FDA compliance if food contact is expected
Easy-to-follow mixing ratio (typically 1:1 or 2:1)
Fast cure time (ideal for beginners)
Popular brands include:
ProMarine Supplies Crystal Clear Epoxy
Countertop Epoxy by Rust-Oleum
System Three Table Top Epoxy
MAS Epoxies
Use a sturdy, flat wooden board such as:
Hardwood (maple, oak, walnut)
Plywood (marine grade preferred)
Reclaimed wood (with proper preparation)
Ensure the wood is dry (moisture content below 12%) and sanded smooth.
To customize your design:
Alcohol inks
Mica powders
Glitter or metallic flakes
Dyes and tint pastes
Always check compatibility with your specific brand of epoxy.
If using molds or forms, apply a release agent like:
Silicone-based sprays
PVA (polyvinyl alcohol) release film
Wax coatings
This helps avoid sticking and makes demolding easier.
Wood filler (to patch cracks or knots)
Sanding sealer (to prepare porous surfaces)
Clear topcoat (for extra protection and shine)
Follow these steps to ensure a successful application:
Choose a clean, dust-free environment with stable temperature (ideally 70–80°F / 21–27°C).
Set up the table on a level surface using sawhorses or a sturdy workbench.
Cover the floor and surrounding areas with plastic sheeting.
Start with 80–120 grit sandpaper to remove imperfections.
Progress to 220 grit for a smooth finish.
Wipe the surface with denatured alcohol or acetone to remove dust and oils.
If the wood has open grain or knots, apply a thin layer of epoxy first to seal it.
Allow this seal coat to cure overnight.
Use silicone strips or wooden frames to contain the epoxy.
Tape off any areas where epoxy should not flow.
Ensure the frame is level and secure.
Follow the manufacturer’s instructions for mixing ratio (e.g., 2:1 or 1:1).
Measure accurately using a digital scale.
Stir slowly and thoroughly for 3–5 minutes to ensure full blending.
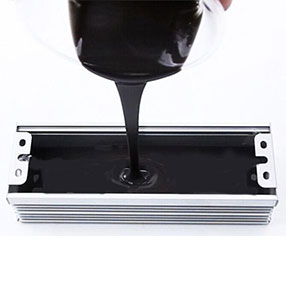
Pour the mixed epoxy onto the center of the table.
Use a squeegee to spread it evenly across the surface.
Work from the center outward to avoid trapping bubbles.
Pass a heat gun or propane torch slowly over the surface to pop air bubbles.
Do not hold the flame too close to avoid scorching.
Allow the epoxy to cure undisturbed for at least 24 hours.
Full cure typically takes 72 hours, depending on the product and ambient conditions.
Avoid touching or moving the table during this time.
Once fully cured, begin sanding with 220–400 grit sandpaper.
Progress to 1000+ grit for a polished finish.
Use automotive polishing compound and a microfiber cloth for a high-gloss look.
Here are some expert tips to make your first epoxy table top project a success:
| Tip | Benefit |
|---|---|
| Read the instructions carefully | Ensures proper mixing and curing |
| Mix small batches initially | Reduces waste and improves control |
| Wear protective gear at all times | Keeps you safe from harmful chemicals |
| Keep your workspace clean and organized | Minimizes dust contamination |
| Don’t rush the process | Rushing leads to mistakes and poor results |
| Practice on a small test piece first | Builds confidence and technique |
Also, remember that epoxy is sensitive to temperature and humidity. Always follow the manufacturer’s recommendations for ideal working conditions.
Avoid these common pitfalls when applying epoxy for the first time:
| Mistake | Consequence | How to Avoid |
|---|---|---|
| Incorrect mixing ratio | Sticky or uncured spots | Use a digital scale and follow instructions precisely |
| Working in a dusty environment | Surface imperfections | Cover workspace and wear clean clothes |
| Pouring too thick | Incomplete curing, cracking | Stick to recommended thickness (usually 1/8 inch max per layer) |
| Not sealing the wood first | Bubbling and uneven absorption | Apply a seal coat before the main pour |
| Skipping safety measures | Health risks | Always wear gloves, goggles, and a respirator indoors |
Once your epoxy table top is finished, it requires minimal maintenance:
Use a soft cloth and mild soap.
Avoid abrasive cleaners or scouring pads.
Use coasters and trivets to prevent heat and water damage.
Wipe spills immediately to avoid staining.
Minor scratches can be buffed out with polishing paste.
Deep scratches or chips may require sanding and reapplying a thin top coat.
With proper care, your epoxy table top can last for many years without losing its luster.
Creating an epoxy table top doesn't have to be expensive. Here’s a rough breakdown of costs:
| Item | Approximate Cost |
|---|---|
| Epoxy resin (1 gallon kit) | 120 |
| Wood slab or base material | 100 |
| Pigments/additives | 50 |
| Tools (if new) | 150 |
| Protective gear | 40 |
| Total Estimated Cost | 460 |
Note: You can reduce costs by reusing tools and buying supplies in bulk.
While epoxy is safe when handled correctly, always follow these guidelines:
Store unused components in a cool, dry place away from children and pets.
Dispose of waste properly according to local regulations.
Work in a well-ventilated space or use fans and exhaust systems.
Choose low-VOC products for indoor use whenever possible.